Ball Jam & Jelly Maker | Strawberry Jam Recipe
This post and its photos may contain affiliate links, view our disclosure policy.
Making fruit jams is one of my favorite summer time activities. I love going to the farms, picking berries and then coming home and making jam.
It’s always been a bit of a process and is often hit and miss on whether or not the jam will set up, but I still love it.
Sometimes what is supposed to be jam ends up being dessert toppings.
Both work, but it’s frustrating when the jam doesn’t gel up.
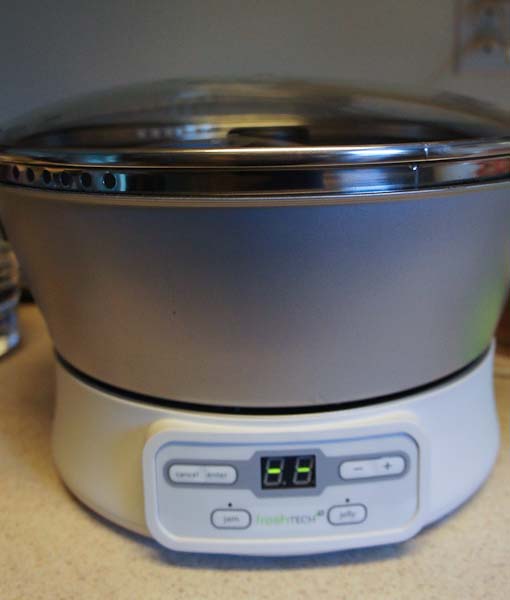
Enter the Ball Jam & Jelly Maker. Making jam just got a whole lot easier.
Plug in the maker, turn it on, pour in pectin, fruit, and sugar. 21 minutes later your jam is done.
Yep, just like that! Jam can then be poured into freezer containers or can it for future use.
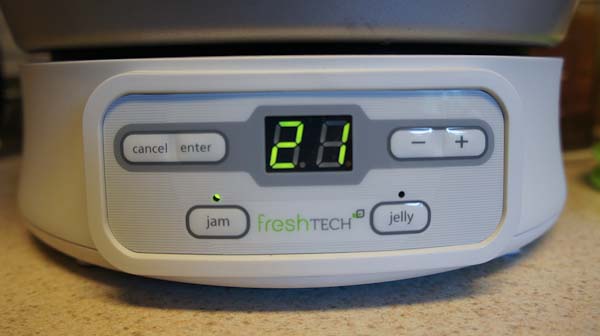 I love kitchen appliances that are incredibly easy to use and do exactly what they are supposed to do.
It’s a score on both accounts with the Ball Jam & Jelly Maker.
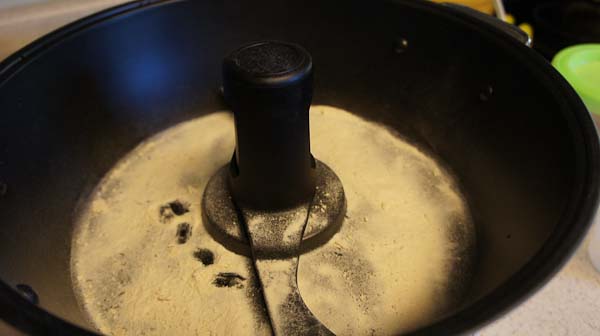 Setting up the machine to use for the first time is easy.
Just place the base on a flat surface (ie: counter), set the pot on top, add the stir and then start adding ingredients. Pectin goes in first.
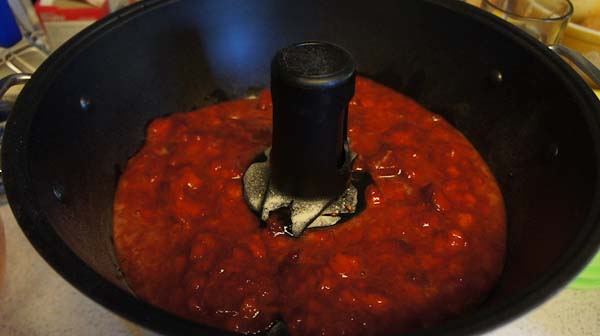 Add the berries. Wait four minutes, the machine will briefly beep, then add the sugar.
Pour in the sugar, add the lid and that is it. When the jam is done the machine will beep again, about 17 minutes later.
Remove the lid and stirrer (using hot pads for safety) and pour jam into containers. Easy. Peasy.
Want to make a second batch? Just wait 30 minutes for the machine to cool down and then repeat the process.
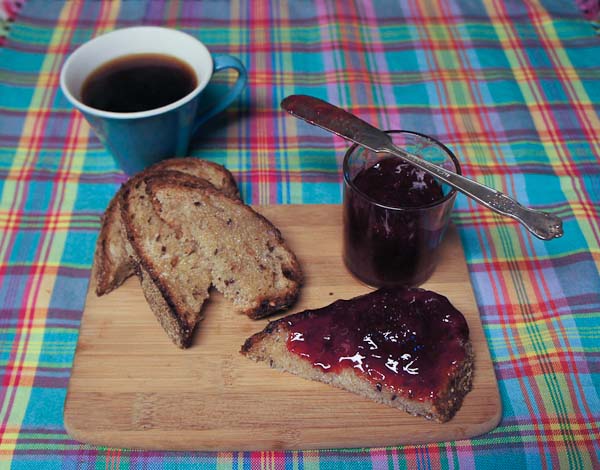
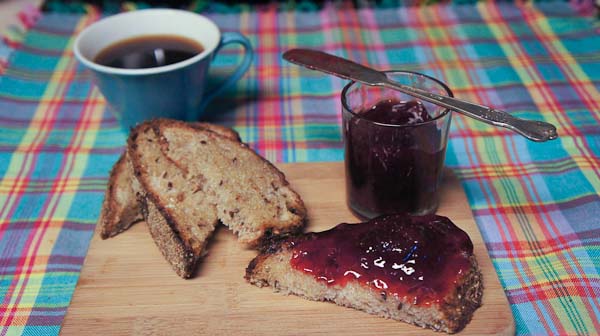
My jam turned out perfect and is delicious! I used the recipe from the Sweet and Simple Recipe book that was included with my maker.
INGREDIENTS
- 2 2/3 cups crushed strawberries
- 3 tablespoons Ball® Real Fruit Pectin
- 1/2 teaspoon butter
- 3 1/3 cups sugar
DIRECTIONS
Wash & drain clean, hulled strawberries. Crush using a potato masher. Set aside.
Sprinkle pectin evenly over bottom of the pot. Add crushed strawberries evenly over pectin. Add butter to help reduce foaming.
Press jam button. Press enter.
Wait 4 minutes for appliance to beep then add sugar. Place glass lid on pot. The appliance will beep again at the end of the making process. Press cancel. Unplug the appliance remove glass lid.
Remove stirrer using a pot holder. Skim foam, if needed.
Preserve jam immediately.
More Strawberry Recipes:
6-Ingredient Strawberry Salsa You’ll Want To Eat All Summer
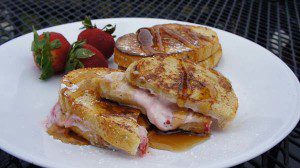
Strawberry Cream Cheese French Toast | Recipe
Classic Strawberry Shortcake Recipe
Pin Strawberry Jam Recipe To Pinterest
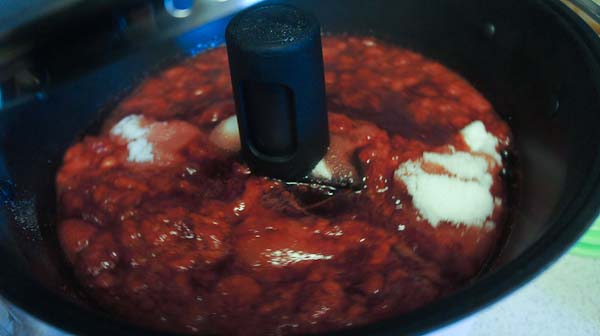





You let the pot stir with the lid off for four minutes. When the machine sounds four short beeps, you add the sugar and place the lid on the pot.
This looks like it takes the guess work out of jam making. I need to make some more. I made about 40 jars of jam 2 years ago, and it is finally all gone. Umpteen pbj sandwiches later, and I need this to make more simply!
How cool! I would LOVE to make my own jam! YUM!!!!
I didn’t even know they had jam makers! I’ve been doing it the “old fashioned” way every year. tell me, after the jam is cooked, can you then give the bottles a water bath and have them self stable in a cool dark shelf? I usually do a lot of jam processing in the autumn and can the Jam so it is shelf stable. This would sure be nice to use for smaller batches of different flavors if it can be canned afterwards. 🙂
That looks so cool, and the jam looks delicious. I would love to make my own jam.
this is the coolest! Would make jam making so much easier.
What kind of bread is that? It looks yummy! We have the Ball Jam & Jelly maker – I have a giveaway right now for one if anyone needs one to make this delicious recipe!
http://www.twoofakindworkingonafullhouse.com/2013/08/ball-freshtech-automatic-jam-jelly.html